There’s no secret to violin sound, just “the three variables”
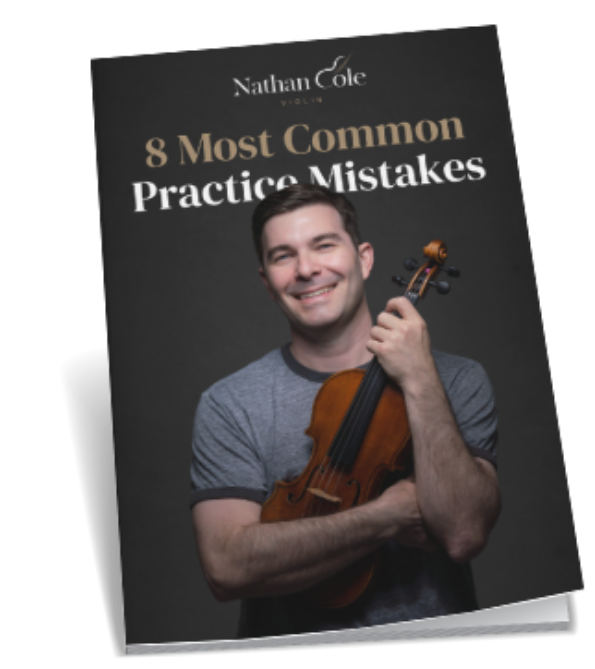
Before you dive in: I’ve put together a quick reference guide that you can download for free. Make sure to grab it so that you always have the 3 variables at your fingertips:
Wherever you are, reading this article, imagine that you’re someplace more comfortable: standing in a hot shower, without a care in the world.
Well, you might have one care: the temperature of the water. I suppose you’d also mind how hard the water was hitting you. Come to think of it, your time in the shower could be just as stressful an experience as practicing the violin!
OK, I’ll admit that’s unlikely. While you may be temporarily flummoxed by a new shower, say at a hotel or a friend’s house, you figure out the controls in a few seconds and go about your business. It’s second nature.
But consider, for a moment, just how complex the problem of “water control” would be for a newcomer to showering society. Then I promise we’ll bring this around to bow control.
Two dials for one temperature?
I need you to imagine one of those showers with two dials: one for hot water and one for cold. Forget about those fancy showers with just one handle that lets you control everything at once: that would be cheating!
You step in, turn both faucets on, and get some kind of warm water. Then you turn up the hot, or perhaps the cold, to get things as soothing (or as scalding) as you like. But now the water’s coming out too fast. The pressure is too high. What do you do?
There’s no dial just for that, is there? You can turn down the hot or the cold water, but then you’d be changing the temperature that you worked so hard to find. Instead you have to turn down both faucets in proportion. To make one change (less water pressure) you have to change two things, in the right proportion.
Sometimes the changes move in concert, as above. You turned both faucets down, in proportion. Other times the changes seem to oppose each other. What if you like the flow, but just want the water warmer? You’ve got to make two changes: turn up the hot, but turn down the cold proportionally.
The interesting thing about this arrangement of controls is that it’s far easier to change two things at once, isn’t it? If you want a more powerful flow and warmer water, then you have only one thing to do: turn up the heat! Interesting, no?
From two variables to three
Now it’s time to pick up your bow, right? Not so fast! Our shower only has two dials. But violin sound production has three major variables. So if we’re going to appreciate just how tall a task it is to shape violin sound, we’re going to need a third control for our shower.
Now for you nitpickers out there, this isn’t an exact parallel, since two of our shower controls have to do with temperature. But let’s live with it for now!
Pretend our shower just got an upgrade. It now has one of those dials that lets us choose the pH of our water. Now we can take an alkaline rinse or (yikes!) an acid bath. You’re laughing, but my kitchen sink does have such a control; apparently the previous owners liked to drink high-pH water and wash produce in the low-pH stuff!
Of course, our pH dial isn’t totally independent from the other two dials. That would make things too easy. Instead, the new control also affects the water temperature and pressure. Turning the pH dial lower makes the water colder and decreases the overall pressure, while turning the pH higher warms the water up and raises the pressure!
Everybody has a safe space
If your actual shower worked this way, you might just decide to stay dirty! More likely, you’d just mark a safe combination for all three controls and never fiddle with them again.
And that’s where a lot of violinists find themselves stuck with the three bow variables. How about you? Do you have a “safe” bow speed, bow pressure, and contact point?
You probably do. And here’s my un-showered little secret: I do too! Everybody does. It’s our default sound. It’s the one we always come back to, the one that’s as comforting as a morning steam.
But if you’ve only got one sound, you’re missing out on a whole world of expression, not to mention technical ease. If you had to hold a note with beautiful sound for quite a long time, wouldn’t it be useful to know which bow pressure and contact point would set you up for success?
Our first experiment
So let’s get down to details about how you can take control of the three variables. Now’s the time to get out your instrument.
Did you download my reference guide yet? If you don’t have it, scroll to the top of this post and grab the guide before going on.
Luckily, the three variables interact in simple and predictable ways, which I’ve laid out in the reference guide. But it’s one thing to read about the relationships, and quite another to feel them for yourself. The key is to keep one variable constant and to play around with the other two.
Remember, you can’t change just one variable without also changing at least one other in proportion.
Constant contact point
Let’s start by making the contact point our constant. Put the bow halfway between the fingerboard and bridge: the “Kreisler Highway” as they used to call it in Suzuki class. Then keep it there for this first experiment.
Set your metronome at 60 (did you know that if you just Google “metronome”, you’ve got one at your figertips?). Now play an open A string that takes two clicks for the entire bow. In other words, a 2-second bow (as opposed to, say, a minute-long bow)! Find the bow pressure that gives you a great, ringing sound. But be sure the bow’s contact point doesn’t drift away from dead center between the bridge and fingerboard; remember, we’re keeping our contact point constant.
Cut the bow speed in half
Once you’ve played several 2-click bows in a row, down and up, change to a 4-click bow. You’re cutting the bow speed in half. You’ll immediately find that unless you lighten up the bow pressure, you’ll get quite an ugly sound. In fact, I bet you instinctively drifted closer to the bridge in order to avoid that ugly sound! If you did, just reset the contact point back to dead center and find the lower pressure that will give you a quality sound.
Note that your 4-click sound won’t be as loud as your 2-click sound at this contact point. That’s to be expected! I just wanted you to feel the relationship, the proportion, between speed and pressure.
Double the bow speed
Now go the other way: switch to a 1-click bow, still with your metronome at 60. But be sure to maintain that same dead-center contact point. At a moderately fast bow speed like this, it can be easy to drift, especially out toward the fingerboard. Notice how you must now increase the pressure dramatically in order to maintain a quality sound. This sound should be louder than your 2-click sound.
Choose a different contact point
Now choose a different contact point to keep as your constant. How about one closer to the bridge? This time, start with the 4-click bow (slower bow speeds are more natural at this closer contact point). Find the appropriate pressure for a pure sound. Then try a 2-click bow, and notice how you must increase the pressure. Now an 8-click, with much less pressure.
Finally, change the constant
Using my reference guide, continue choosing different constants while you change the remaining two variables. Pick a speed (4 clicks at 60, for example) and see how pressure and contact point relate. Don’t just read about how you’ll use higher pressure near the bridge and lower pressure near the fingerboard. Feel it for yourself. Get out of the shower safety seat!
The tonal possibilities are infinite
Now pat yourself on the back! Most violinists never venture out of their comfort zone. Just by running these experiments, you’re way ahead of the game. Remember: every time you try a new combination, you’re building awareness of how the 3 variables interact. And with each successful combination, you add a new sound to your repertoire.
I’d be doing you a disservice if I didn’t link to my friend and colleague Simon Fischer at this point. Nobody has written a more complete treatment of this topic than he has. My guide is the one-pager, while his book is a compendium of exercises that explores the full range of tonal possibilities. It’s called Tone: Experimenting with Proportions on the Violin. If you care about your sound, then check it out here and use my reference guide while you wait for Tone to arrive in the mail!
Please share the new sounds you’ve discovered in the comments below:
Comment section
16 thoughts on “There’s no secret to violin sound, just “the three variables””
Leave a Reply

Scales: The Road
to Repertoire
Even if you’ve never played a scale before, violinist Nathan Cole of the Los Angeles Philharmonic will guide you through scale routines that meet you where you are, and build progressively alongside your playing.



I was just reading an article about this in The Violinist: Kurt Sassmannshaus:Teaching Right Hans Basics.
Thank you so much for the reference guide!
All the factors in the guide are quite intuitive, if you’ve been playing a while. But then again, that intuition seems to fly out the window in certain types of passages. Careful observation in those pesky passages often finds one or more of these factors out of range on my bow! Thank you for the reminder that the basics are always just around the corner.
Absolutely, I forget that at my peril!
Wow! This is quite nice….I play the violin myself but I was reading this article to help my 11-year old son who is an advanced violinist with his bow pressure. He produces a loud and warm sound but fails to release the bow once he catches the string and sometimes crushes especially in Pieces by Kreisler….I think this exercise will help him with the problem
I’m sure it will, thanks!
Love your stuff and am also a fan of Simon Fisher! I can’t seem to find the link to your reference guide, though. It’s not there when I scroll to the top of the article.
I would love to access it! Thanks!
Thanks! Hmm, does nothing appear for you after the italicized note right before the first paragraph? Just above “Wherever you are”? If not, I’ll fix it.
I, too have no link to the reference guide and would like access to it! Thanks!
Hi, sorry for that! Want to help me troubleshoot this? What do you see after the paragraph in italics before the main part of the article? Thanks!
Really liked your article. Thank you for all of your hard work to help all of us struggling violinists! Thought the shower analogy was great! Really appreciated it as I just went over this subject in my private lesson. How do you keep up with the computer and practice too.? 🙂
The practicing always gives me ammunition for the articles! Like when I hear myself playing out of tune!
We are so lucky to have your resources available. This is a great motivator to push for more variety in our palette of sounds. That comfort zone sound is so true.
I can’t download the guide either. I get an error message ‘something went wrong. Please try again’
Thanks
Hi! Just send me a message (contact at natesviolin.com) and I’ll send it to you. And if you would, so that I can try to figure this out once and for all, let me know when and where you’re getting that message! Sorry for that!
This ill wind has blown us some good–you’ve been able to give more of your time. Been watching your Bach on the Road series and it’s wonderful how often you’ve made an incidental remark that makes one think: “Oh, yeah, right, I’ve gotta try that!” Orchestra season has been cancelled, so I’m working on tone. Had no trouble downloading the guide.
Cheers,
Blake.
Thanks so much Blake!